Tuesday, November 8, 2016

Sparkly Space Invaders

Now that you can get the new AVA beads from The Potomac Bead Company, I decided that you need a freebie tutorial for earrings.  Here is my design called Sparkly Space Invaders...I hope you enjoy making them!!


I used a Sahara briolette, Crystal Amber Full AVAs, Toho #460K drop, and Miyuki #191 for the seed beads.  I would love to see the colors you choose!!!
Happy beading!!
Norma Jean

Thursday, October 27, 2016

New AVA beads

I was one of the designers chosen to play with the new AVA beads developed by The Potomac Bead Company.  I received three colors of the beads; Crystal Labrador Full, Crystal Amber Full, and Crystal Capri Gold Full.  My friend who is a retired third grade teacher calls them Less Than and Greater Than beads, because to her that is exactly what they look like.  AVAs measure 10X4mm and have two holes.  I really like the heft of the beads.


I had a great time playing with the AVAs.  I made two bracelet designs, Holly Points and Let It Go.
Holly Points is being made into a freebie video that you can get on The Potomac Bead Company website.  I will also sell a downloadable pdf of the diagrams in my Etsy shop for those of us who like diagrams.


Let It Go will be available to purchase in my Etsy shop when the tutorial is available.


I also designed a pair of earrings called Sparkly Space Invaders.  I am hoping to get the tutorial written up and posted here as a freebie... So much work so little time!!


AVAs will be available for purchase on The Potomac Bead Company's website later this month with more colors becoming available in November.  I think you will enjoy playing with them as much as I have!  There are other new design tutorials becoming available from other designers!!

Happy beading!!

Saturday, October 1, 2016

Getting Motifs to Lay Correctly


Antigonian Bracelet is my newest tutorial...so new it has not been released yet!  I made the prototype bracelet this past early summer. It is the turquoise and silver photo. While both versions look similar they are beaded totally differently.


 I loved the way the prototype looked but was not happy with the way the dome beads fit inside of the beaded bezel.  They had a tendency to slip and flip forward making the dome insecure.

I beaded three different versions of the motif that appeared the same but had different bezel designs. Below is a photo of the three versions taken from overhead.  See how similar they look.  (Please disregard the dome bead with a lot of blue, I think it got mixed up in the wrong color bin.)  The main difference is how much surface area of the dome is showing.  The third motif appears larger!


Here is a photo of the same versions taken from the back side.  You can see the different bezel backs. The third is the prototype design.  I used a wheel type bezel.  This is the one where the dome bead moved and could flip forward. The second and first motif have very similar backs but the main difference in the way they lay is shown from the side view photo.


Notice how the second motif does not lay flat against the base surface.  It sets much too high.  The first motif lays flat and will look the best when worn as a bracelet.


When designing jewelry there are many more things that have to be worked out other than the visual harmony of the design.  A designer has to be able to design something that will lay against the body and move accordingly.  The main focal (dome bead in this example) needs to be bezeled in such a way that it will not move around and flip forward or backward.  It needs to fit tightly, but lay flat and not sit up from the base surface.  

I hope this quick blog post will help others out there is cyber-land when designing their own jewelry!! Happy beading!!
Norma Jean


Wednesday, June 29, 2016

Using only Metallic Finish Beads in a Design

In writing up the tutorial for Grotto Flower, I decided to challenge myself to try and use only metallic finish seed beads.  It is typically not a good design idea, but I wanted to see if I could!

In the original design I used solid color, color lined, metallic, and AB finish beads and was very happy about the way it turned out!


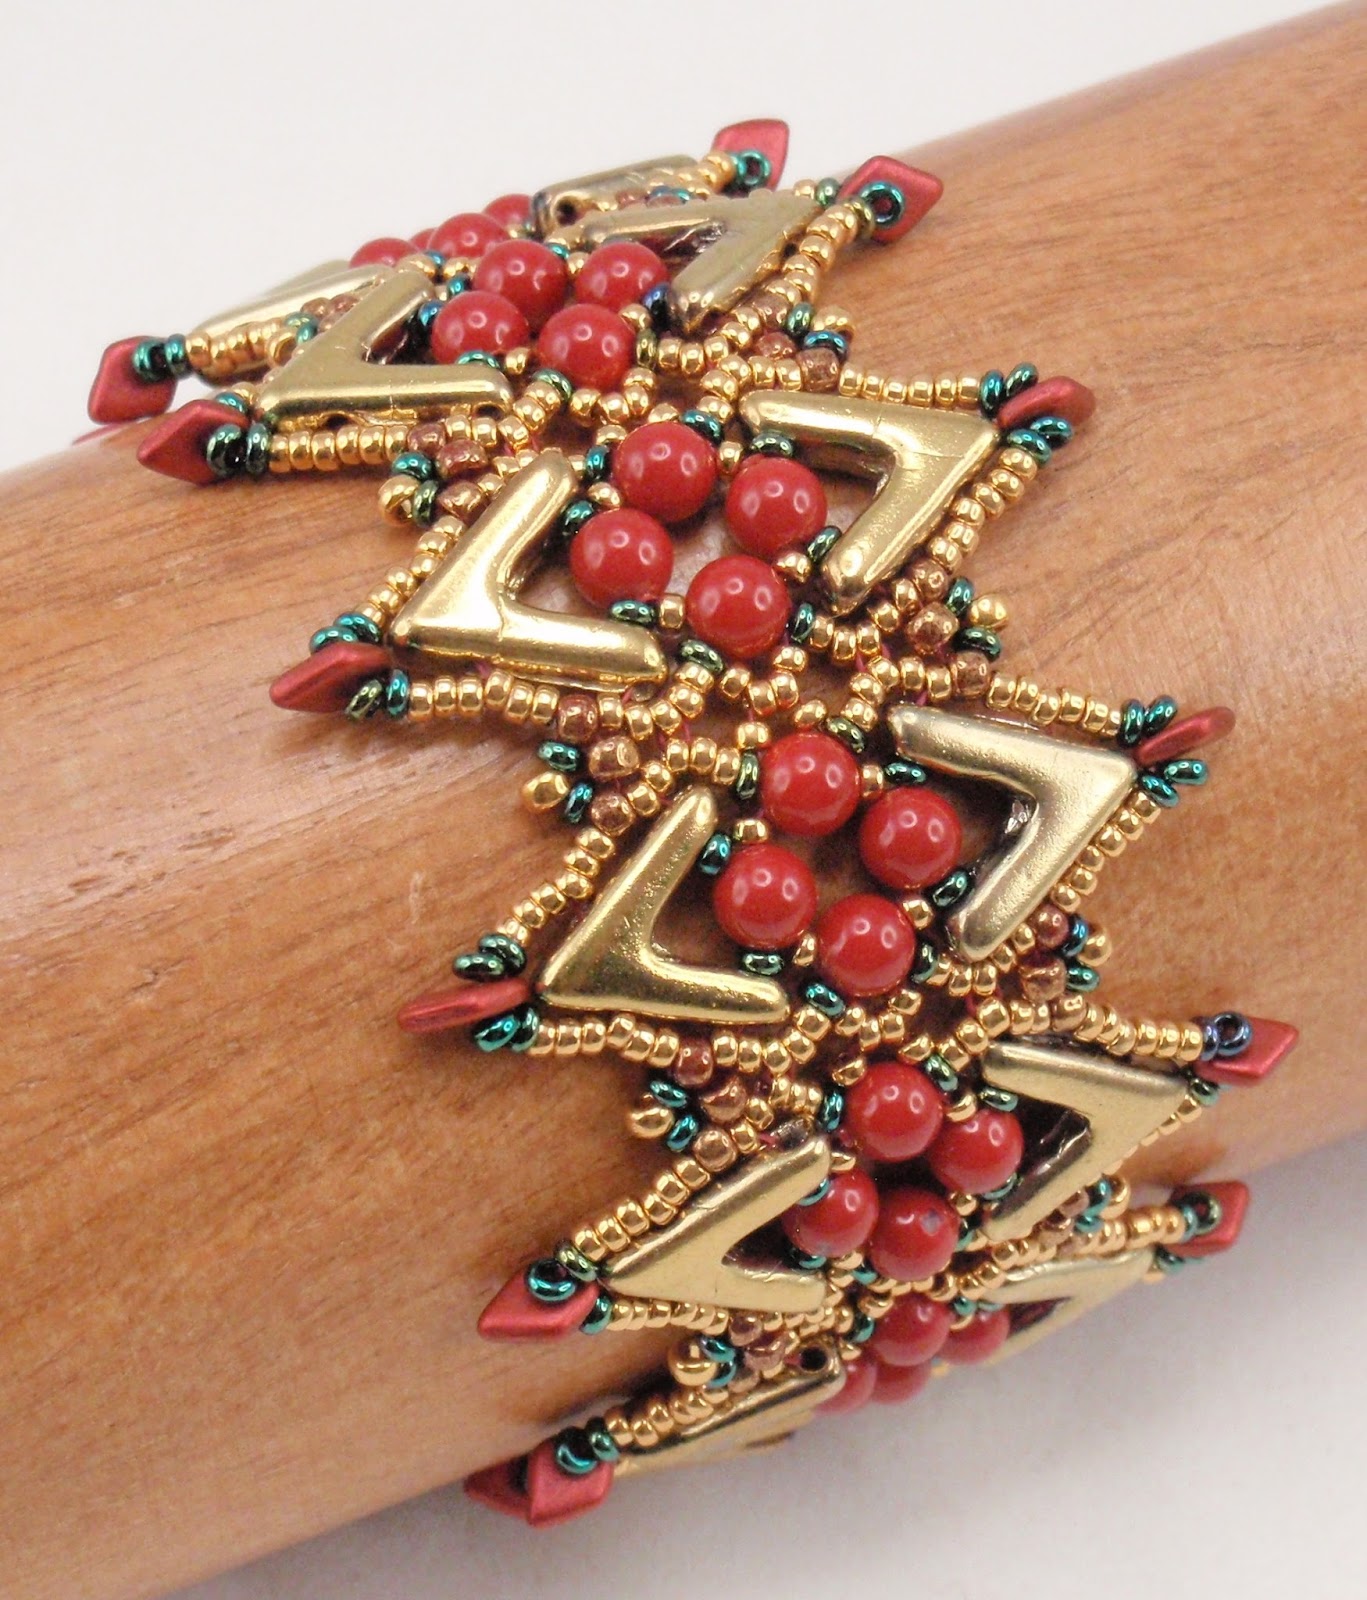
When I made the second colorway, I focused on using similar shades with different finishes.  The matte green really set off the petals of the large flower. The bronze added a needed deep shade to anchor the greens. This color version is my favorite!


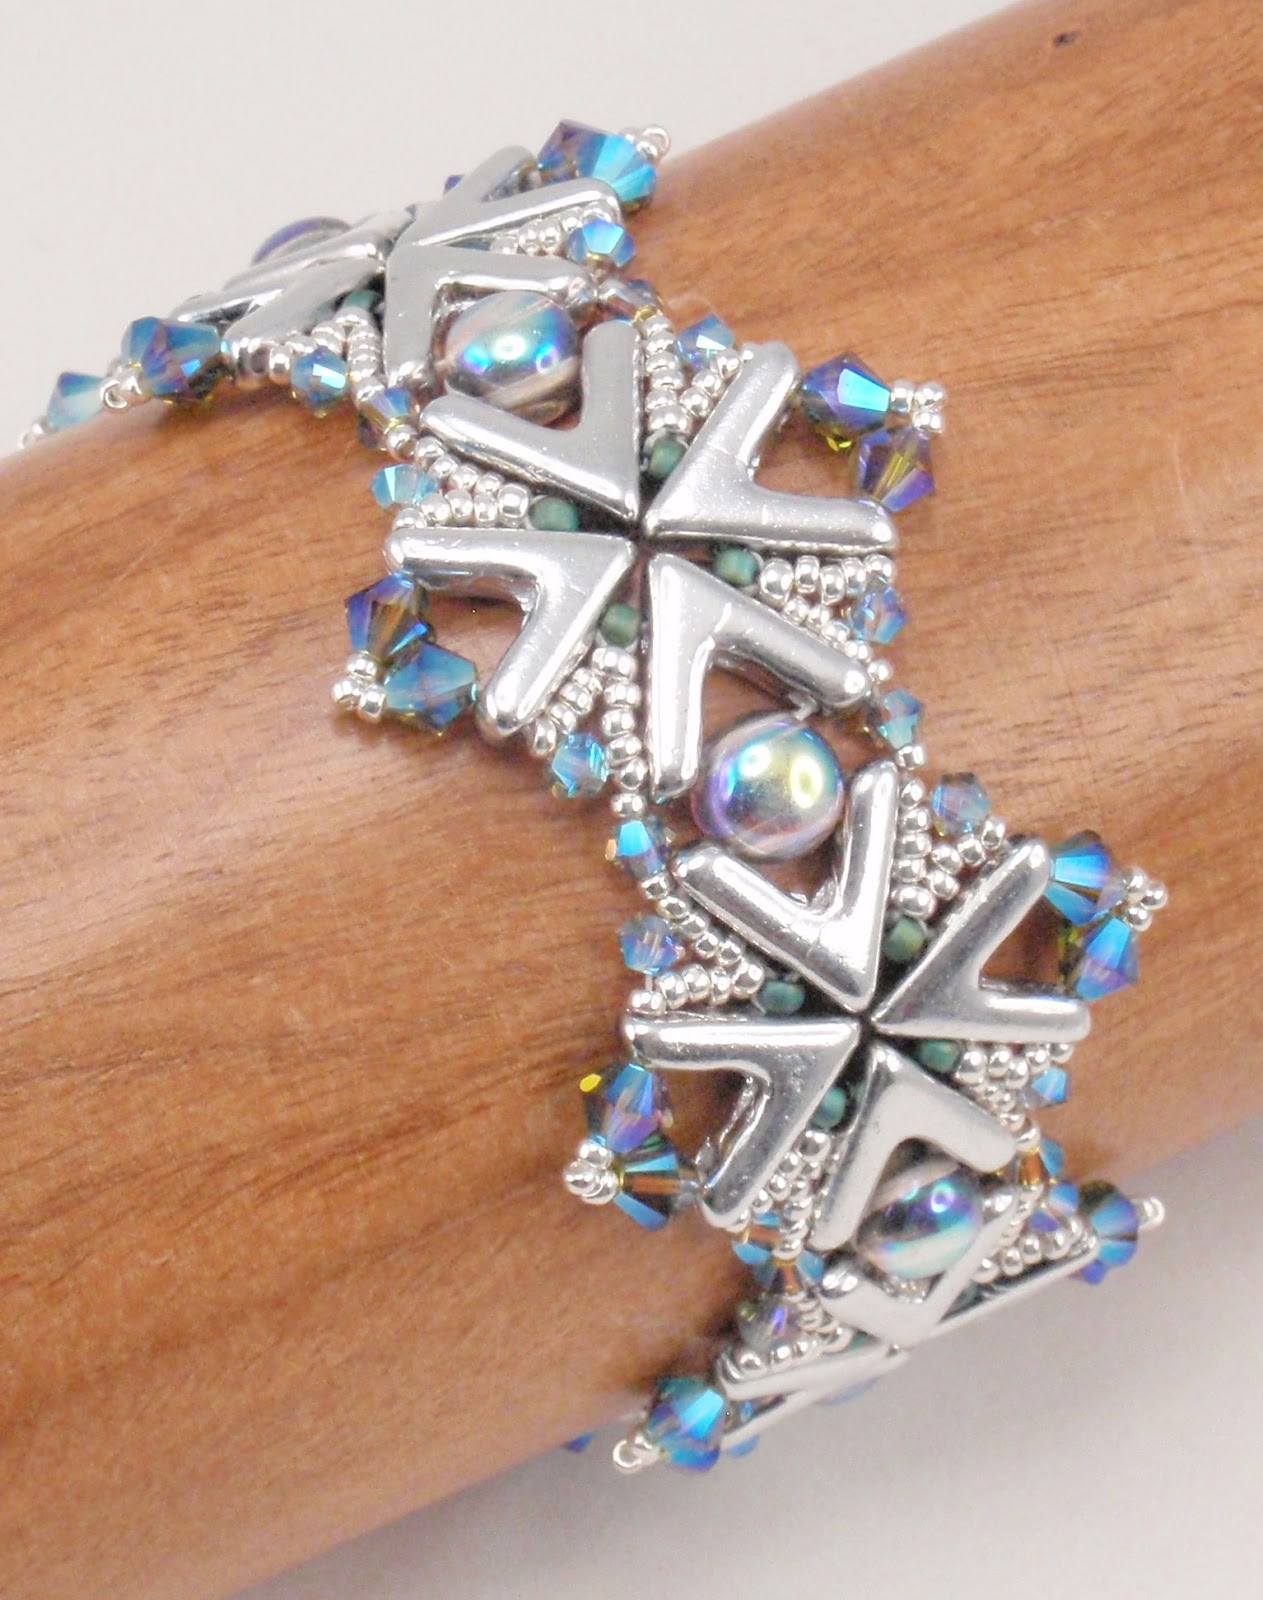
My first challenge in using only metallic finish beads was determining the colorway!  I chose a split complement design.  The general colors were violet, yellow, and green.   I chose Miyuki #4220 Galvanized eggplant as my violet, Miyuki #4205 (DB #1835) Zest as my yellow, and Miyuki #465 Dark Green Iris as my green.

As you can see all seed beads are metallic.  They do have the same shiny consistency which doesn't really help the eyes to settle on one part.  The colors do help though.  If I were to do this colorway again I would use a Delica that matched the Dark Green Iris, which would bring the dark shade in around the lilac center gumdrop bead in each flower motif.

Now which one of these three is your favorite?  This design tutorial will be released soon in my Etsy shop and you can try your own colorway!!!

Happy beading!!
Norma Jean


Wednesday, March 23, 2016

Another Design Issue

This is Nexus Blossom Bracelet.  It is made with RounDuos and seed beads that surround a rivoli to make a crystal flower.   The photo below shows the bracelet flat.  It is a beautiful design, but there is a problem!


I made this late last year, but did not like the way it sat on my wrist. I loved the flowers but the connection between the flowers was too large causing the flowers to lay far apart, which looked funny when it curved around my wrist.


After many explorations with different connections, I finally came up with this new version.  While this colorway is different, perhaps you can see that the flower connections are shorter so the flowers are closer together.  This bracelet version lays very nicely on the wrist.


Here is a photo of the two bracelets side by side so the flower connectors' size can be compared!  I am off now to start writing the tutorial for the final version of Nexus Flowers Bracelet!!


Look for it soon in my Etsy shop!!  Happy Beading!!
Norma Jean

Tuesday, February 23, 2016

Working through Design Issues

A good cohesive design is not only about choosing colors that look good together, but is about a whole slew of checkpoints that must work together.  One of these checkpoints is wear ability!  Here is a beautiful bracelet I made incorporating two hole Hex beads.  If you notice the hex pattern is used around the Cabs along each side of the bracelet. This is the repeating patterns that is a part of good cohesive design.  But the bracelet does not lay flat when worn. The RounDous bunch forward.  It is not a tension issue but a design issue. So it is not a good cohesive design!


                        Notice the RounDuos are bunched forward in this photo.


Here I have fixed the issue with the RounDuos by somewhat changing the thread paths.  Now they lay flat, but I used so much thread that I could not get the edge beading in.  On this design, which is very pretty, the cab motifs tend to flop forward because they are not attached to the center beadwork.  So now the RounDuo bunching issue is fixed but there is another issue with too much thread so I can't get the cab motifs attached so they will lay flat.


Here is the final bracelet.  It is made totally differently from the first two bracelets.  The thread paths are different and actually easier!  It makes up more quickly that the previous two bracelet designs. This is the keeper!  The RounDuos lay flat, thread does not fill up the beads, and the cab motifs are attached.  Making a good cohesive design takes a lot of thought and trial and error!!  Designers have to be patient and never give up when designing!!


Happy beading everyone!!!
Norma Jean