Wednesday, October 24, 2012

Southern Bead Retreat Projects

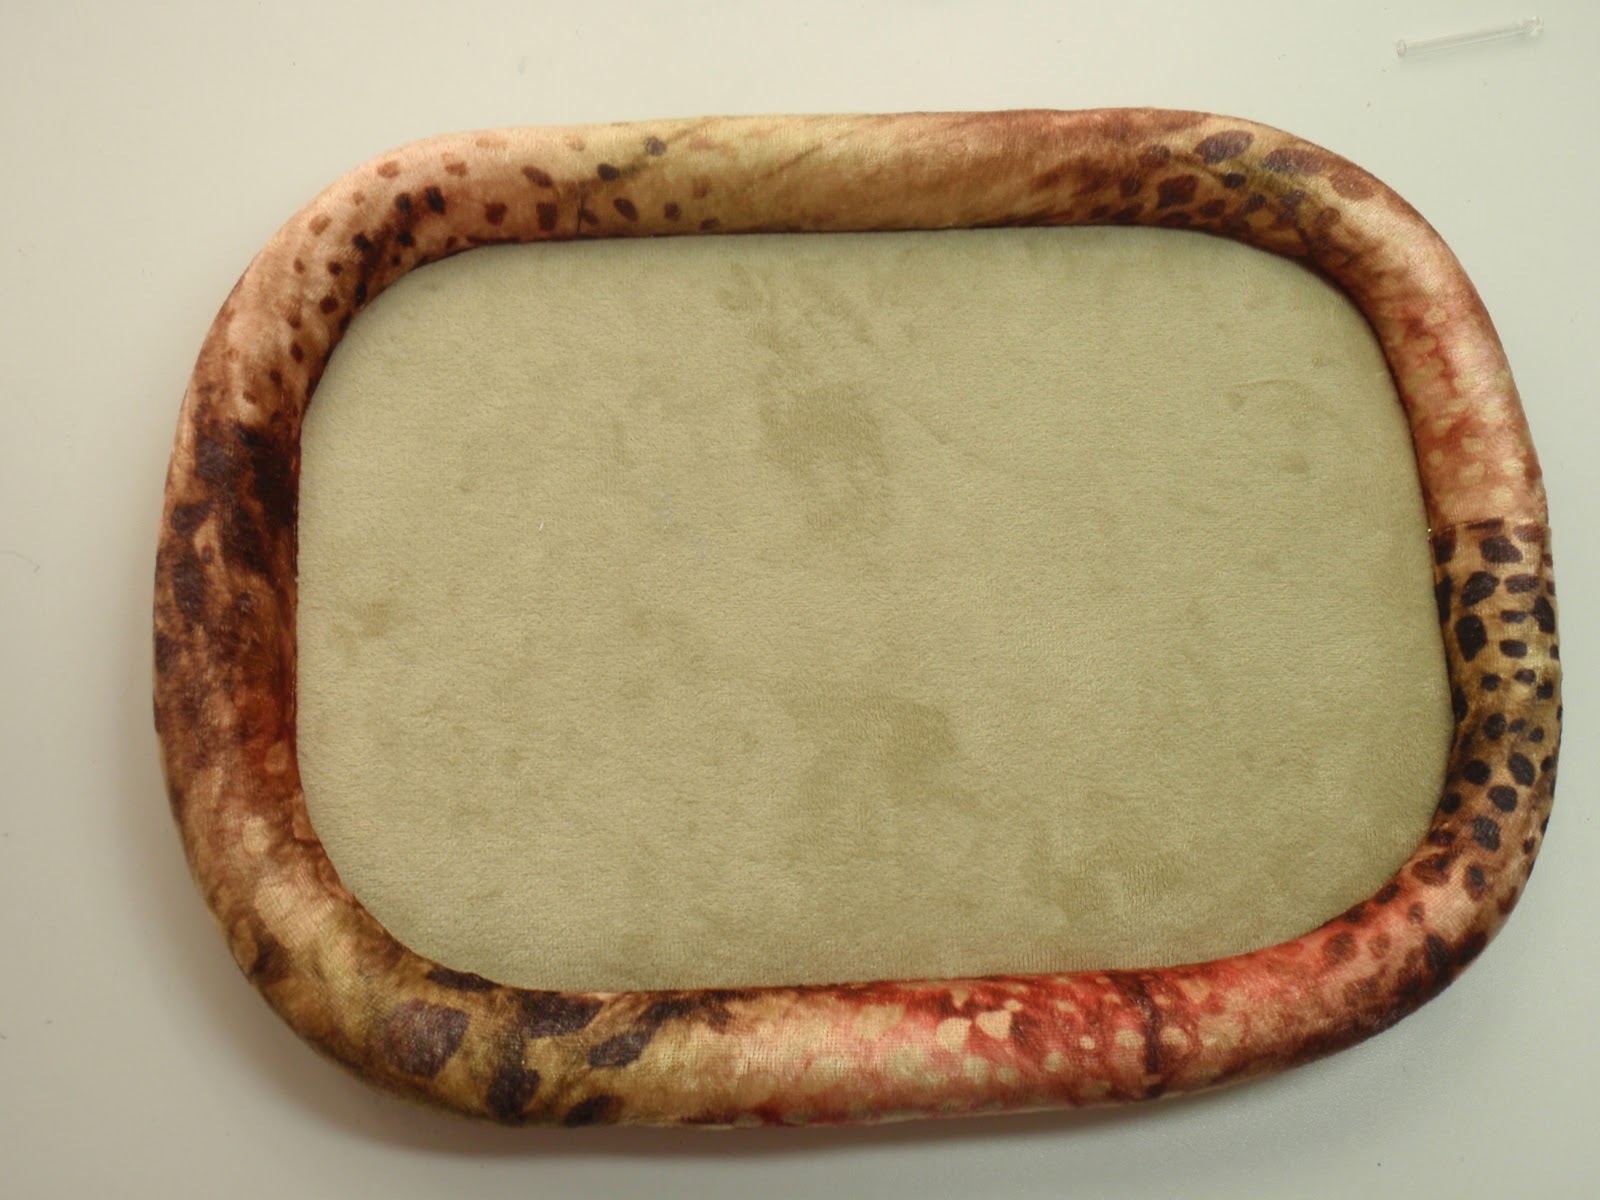
The Southern Bead Retreat takes place every two years at Callaway Gardens, located in rural south Georgia.  I drove down depending upon my phone for directions!  When I ended up in a deserted parking lot on Commerce Street in Pine Mountain, GA, I decided it was time to talk to a real person for directions!  I was so close...it took less than five minutes to get to Callaway.  I checked in, unloaded and went to take my first class from Kimberly Stathsis.  She is an outstanding teacher, who writes the best instructions ever!!  Here are the earrings I made in class!


They have a post bezeled behind the top tiny pearl.  The bottom pearl is encased in a nice pillow.  I just love this colorway!!!


Day two of the retreat was with Marcia DeCoster.  She rocks!  I learned how to do a fast herringbone.  Here is the necklace I made in her class.


The focal is a hand painted (by Marcia) wooden ball that is surrounded by a net of seed beads and crystals.  On the bottom is a wonderful sparkley bezeled rivoli.  The collar tops the focal and is hung on a beautiful fuchsia silk ribbon.


Day three was with Cynthia Rutledge.  She is a very patient teacher and an elegant lady!  Here is the wearable art necklace I made in her class.


The focal is a ceramic cab that depicts a famous painting.  Cynthia had many different cabs to choose from, some were especially artistic!  I especially loved making the dangle and the two beaded buttons for the closure.  I didn't enjoy making the tiny jump rings and placing them in the tiny space provided for the connections!  It was just a me thing as they weren't hard to make!!!


Day four was my shopping day....we won't go there except to say I had a blast!!!

Day five was with Sherry Serafini.  Her designs are fabulous and she is a very enthusiastic and creative teacher!  Here is the bracelet I made in her class.


We used set crystals and bezeled them and embellished around them to make bead embroidery components.  The focal cab was done in a similiar fashion. Then the components were connected with seed beads and crystal.  The photo doesn't do the bracelet justice!! 


Day six was with Dianne Fitzgerald.  She is just full of knowledge about beading!!!  We worked with right angle weave to make this bracelet.


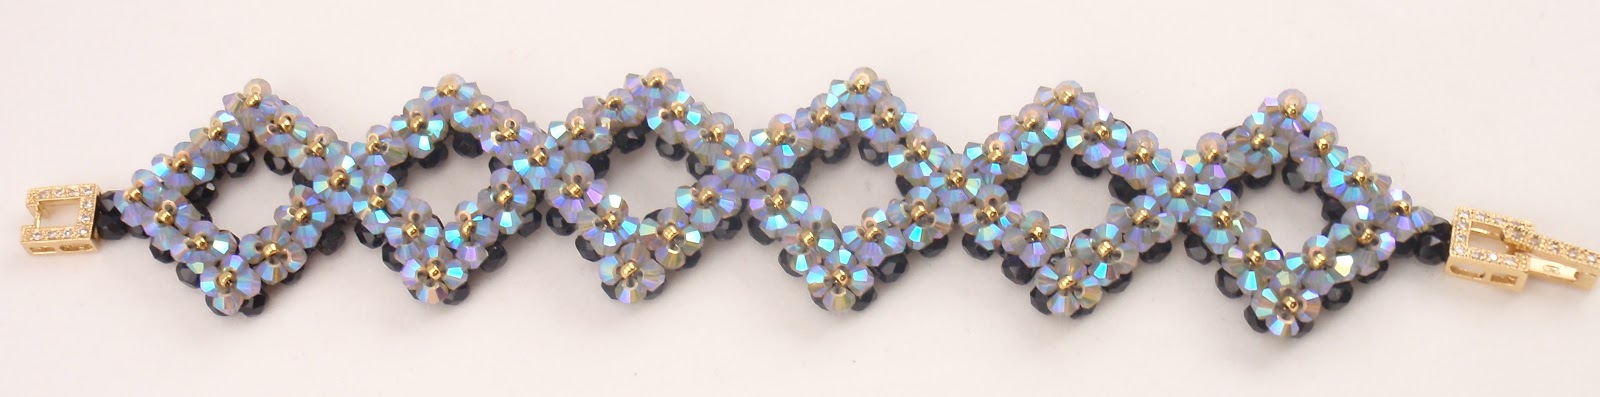
I love the bling of this bracelet and we only had to count to four to make it!!  I finished the bracelet early and was so excited to wear it!!!


Day seven, the last day, was spent with Huib Petersen.  He is such a fun teacher with great stories! We were given the option of just making the ladybug with size 8 seed beads or the whole bracelet kit with size 11 seed beads.  I chose the size 11 seed beads.  Here is my ladybug and aphid!!!


This was by far the most challenging project of the week!  First I started with the wrong number of beads (I only had to count to four yesterday!) then I had to start over to get my increases in the right place!  Completed the project was a bracelet with bugs atop, but I chose to just make the bugs!  I think they are so cute!!!  I learned a lot about increasing and decreasing in peyote stitch!!!


All in all the week was filled with fun and lots of new learnings!!  I made so many new friends!!!  I didn't want to leave!!!

Happy beading!!

Monday, October 22, 2012

Southern Bead Retreat

I just returned from the third biannual Southern Bead Retreat.  There were fantastic teachers there!  Below is a photo of the group of teachers along with myself!  From left to right, is Dianne Fitzgerald, Huib Petersen, Sherry Serafini, Cynthia Rutledge, myself, and Marcia DeCoster!  Kimberley Stathsis was also a guest beader who taught an earring class, but she wasn't there for the whole retreat.


I will be posting the completed works in a later post....I still have to finish one kit!!!  For now I would like to tell you about the two new tools I found while there.

The first tool is a new type of beading mat.  Here is a photo of it.


I think it is made of a high quality cotton-based short velvet. The inside velvet on this mat is such a soft shade of sage green.  The seed beads seem to fall hole up when you pour them onto the mat making it easier to pick them up.   The padded ridge, made from a printed short velvet fabric, around the mat keeps your beads in place and also works as a comfortable hand/wrist rest.  I bought this mat from Cynthia Rutledge.  Here is the photo of the tag information.  It was a little pricey, but I felt it was worth the money invested!!


The second tool is probably the most important!  After a long day of beading, we would gather around tables in the home room and chat while we beaded.  We needed some relaxing refreshment, so it was a good thing I brought this tool!


Yes, you guessed it!  A wine bottle opener!!  The wine flowed, we beaded, we chatted, and we relaxed!!!!  We learned a lot and had a wonderful time!!!

Happy beading!!!

Saturday, June 9, 2012

Etsy Beadweavers Challenge for June

It's that time again!  You will need to vote for your favorite beadwoven piece in this months Etsy Beadweavers Challenge.  The theme is "Mystery".  There area so many gorgeous pieces to choose from!

I chose crop circles as my mystery!  Are they a hoax, made by people?  Are they a natural occurrence brought about by Mother Nature?  Or are they made by aliens or alien craft visiting the Earth?

Here is my entry.....https://www.etsy.com/listing/100981003/crop-circles-necklace-ebwc


My piece is made with Toho permanent copper finish seed beads, Swarovski glass pearls and crystals, and a gorgeous tiny maroon seed bead.  Working with the Tohos was very hard because with the permanent finish the hole were tiny.  I used a copper bail and three strands of silk cord for the neck rope.  I hope you like my entry!!

Norma Jean 

Thursday, May 31, 2012

Nautilus Cuff

I can't believe I finally finished my nautilus cuff!!!  I have been working on this for a month!   I bought the nautilus shells at a trunk show at the local bead shop!  I fell in love with them and just had to have them.  The only thing I need to tweak is the clasp.  I'm not sure what I'll use.  I though a ribbon that ties would look different, but it'll be hard to close.  I thought about using a peyote strip with snaps....I'm just not sure!  I'll have to sleep on it and let my right brain problem solve!!!


Wednesday, May 9, 2012

What's On my Beading Mat?

Since I'm not very good at coming up with things to blog about, I thought I would start showing you photos of what I am currently working on.  My blog site will become more pictures and less words!!  I hope you like this idea!!


This is a new bracelet component!  I am writing the instructions for this.....


This is the start of a new necklace.  When done it will be very sparkly and have drops added!


I have been working on this for quite a while.  I want to design a close bezel that completely covers the back of the rivoli and can be embellished easily!!  This is my third try!!!  Gotta love trial and error!!!


This is a new bracelet design.  I need to finish it  and write the instructions.  I also would like to adapt it for a necklace!


I was playing around with one of the above bracelet motifs...not sure if I'll use it or frog it!!


This is Huib Petersen's California Poppy  in pieces...I am slowly beading it using the directions in the book Beading Across America.


Finally, I have my Nautilus shell bead embroidery bracelet that I am working on.  Bead embroidery is very relaxing for me!!!  

I hope you like the things I am working on!!!
Norma Jean

Wednesday, January 4, 2012

Organization Feeds Creativity

Typically when someone thinks of a creative person, they probably think of that absent minded professor.  You know, the one who has things piled all over,  the one who is late for everything, basically, the one that needs a keeper!  Not all creative people are like that.  I tend toward order, structure, and routine!  When my beading table becomes covered in beads and works in progress, my mind focuses on the mess instead of what that mess can become.  So I start organizing my table.  Before the holiday, I was in a whirlwind of beading work with my beading table looking like this...


I can just hear some of you out there saying, "That's not messy!  What is she talking about?"  Well, guys, for someone like me that is very messy!  When my boys were little they had specific labeled bins for their toys!  I know some people think that anal, but it works for me!   My studio table is now organized and order reins supreme again!  Just look at this wonderful bead organization....

I keep all my beads (I know it doesn't look like a whole lot of beads, but there are many.) in a large cabinet that can be closed.  I don't like looking at all those containers.  Here are close up photos of the bins I use....


Notice all the labels!  Like I stated before I like order!  Now that everything is organized I can find things more easily, and my beading life is full of creative ideas!!!  I still haven't reached that level of order where I have all my beads separated by color along with size.  Thank goodness, I'm not that anal!!!  LOL

While cleaning and organizing my studio, I found a wonderful small indicolite Swarovski oval rivoli.  I immediately knew I wanted to make a glitzy small pendant!  See organization does work for me!!!